Tuesday, July 28, 2015

Tutorial: Artichoke Sconces Makeover


Recently we came across this set of artichoke sconces and we thought they could be transformed to look way better with our Amy Howard's Natural Legno Gesso and Toscana Powder Paint.


Here is how:
After a thorough cleaning with a degreaser, we prepared the Legno Gesso. 

Note: Amy Howard's  Legno Gesso is a 32oz can of powder that can be diluted with water. We calculate one part gesso to one part water and we dilute enough powder in a container for the project at hand. 


We applied one coat of Legno Gesso on the artichokes and left them to fully dry.


Once fully dried, the Legno Gesso adds a very interesting crackled and aged finish. 


As with the Legno Gesso, we prepared the Amy Howard's Toscana Powder paint. We chose the Cote D'Azure color for this project. We applied one coat of Toscana Powder paint and left to fully dry.

Note: Amy Howard's Toscana Powder paint is also a powder that dilutes in water, found in an 8oz clear container. Mixed by adding enough water to the Toscana Powder until there are no more lumps in the paint. 


After the coat of Toscana Powder paint was fully dried we applied clear wax to the artichokes as well as dark wax. Directions on how to apply wax finishes can be found on this post: Stool Makeover.

We also distressed the tips of the artichoke layers as well as some areas of the sconce base to add on aged appeal.


And here they are, all refinished and beautiful. 

We hope you enjoyed this post and that you'll find some time to visit with us, either at our shop in town, here on blog or our Facebook page. 


Tuesday, April 14, 2015

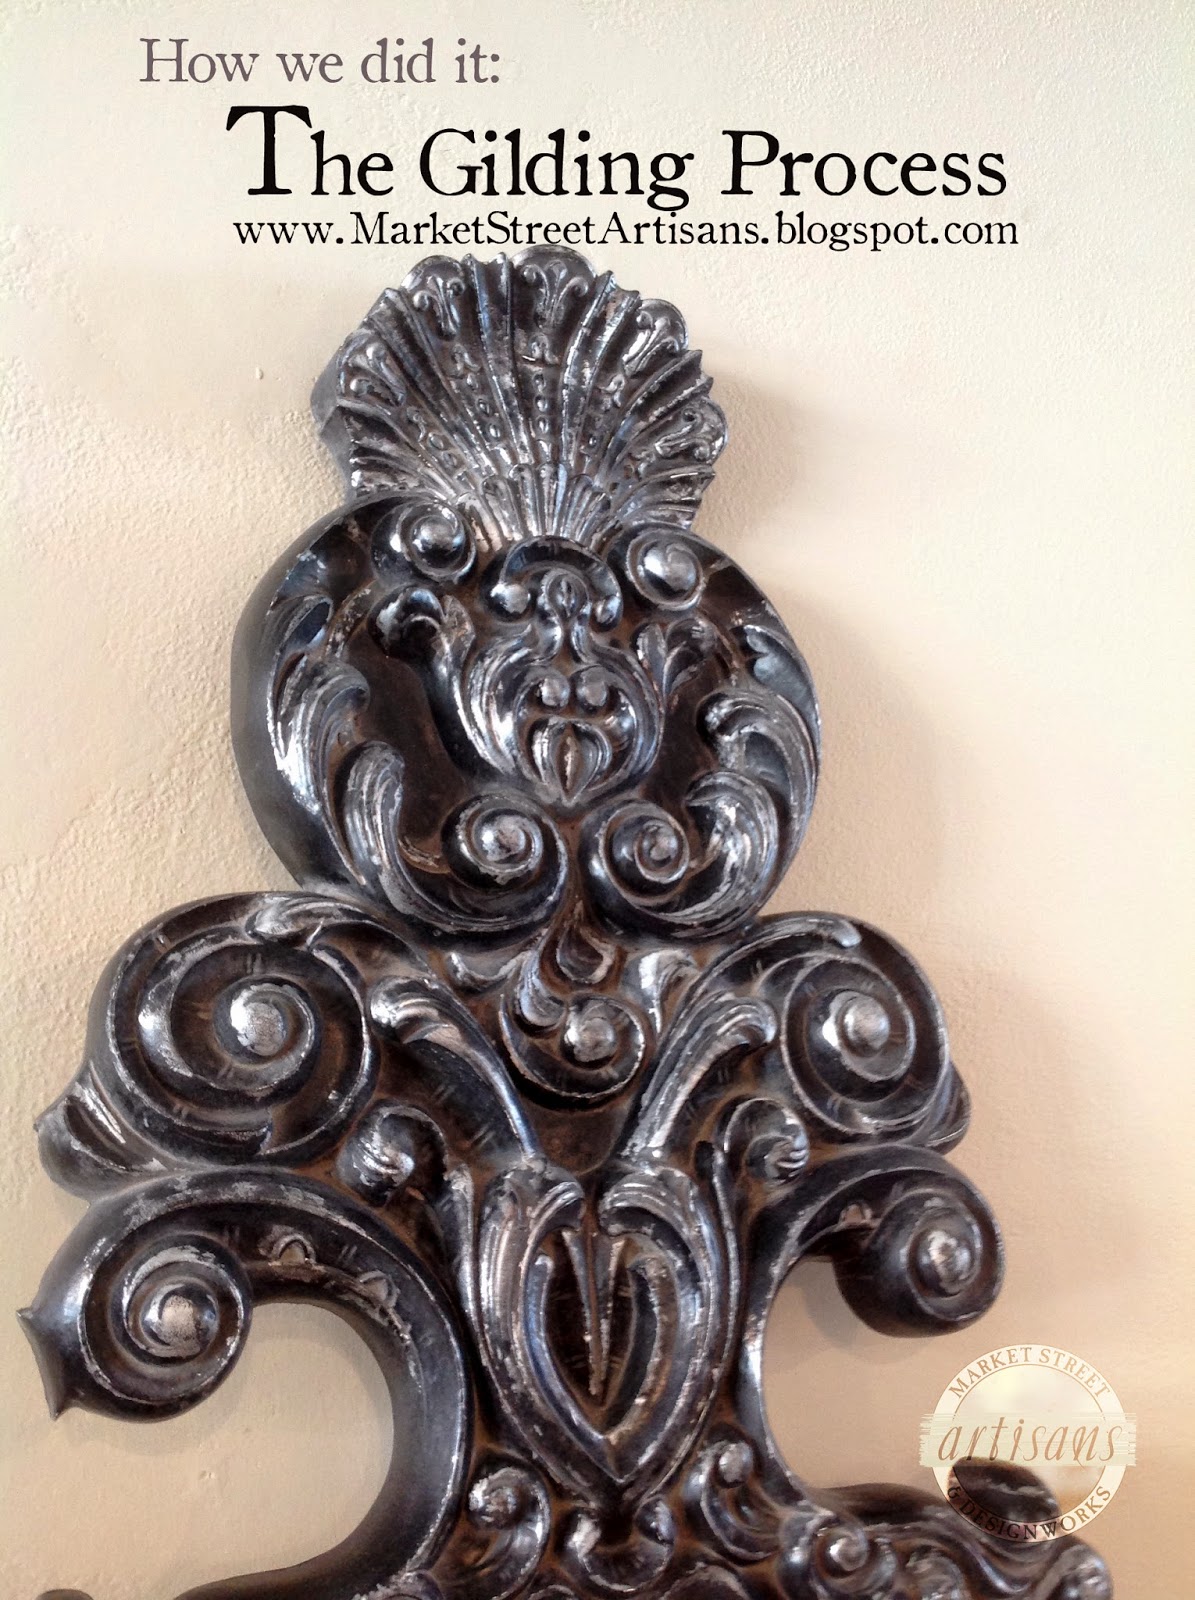
How we did it: The Gilding Process


The gilding process dates back over 4000 years in ancient Egypt. Among the finest gilding was that carried out in France in the 18th Century and established France's undisputed leadership in decorative arts. 

Gilding in gold, silver and copper leaf can add beautiful accent and detail to any piece of furniture or accessory item. Gilding can be used on glass, metal and wood. It is important that applied gild shows wear in the gold or silver leaf to look authentic.


Here we have a wooden carved mirror frame that we brought into the studio originally painted in white.  We thought that it was a perfect piece, with all of its detail, to paint first and then add an
aged gild finish. 


The Process:
~ We started by painting the frame using Amy Howard's One Step in Black. (Further details on using Amy Howard's One Step paint can be found here: 

~ Using an accent artist brush, we applied a nice even coat of Amy Howard's Gilding Size, applying in long clean strokes much like we would apply nail polish. The Gilding Size (adhesive) is white so that helps in making sure that it is applied to all areas we want gilded. Then we let it dry for about 10 minutes, to a tacky finish.


~ The silver sheets come in a book and each leaf will be in between sheets of tissue. We cut the silver leaf just a little larger then the area that we are gilding. Removing the tissue off of one side, we laid the silver gilding sheet down and with the tissue on top of it burnished it with our fingers to made sure it was laid into the size adhesive. 


~ After dry-brushing off the loose leaf, we buffed the leaf with a clean rag to make sure it has a shiny patina.


~ Clear wax was then applied and buffed.

~ Then using a dry brush we powdered the frame using Amy Howard's Dust Of Ages and buffed off excess using a rag like one would buff a shoe. This step brings out the highlights and sheen of this beautifully gilded piece.


And here is the amazing looking finished mirror, gilded in silver leaf and ready to be a show stopper in any room.

It is available for sale in our store at 235 Market Street, in downtown Mount Airy.

Hope you enjoyed the walk-through of the process of this gilded piece. 

Tuesday, March 24, 2015

Tutorial: Thrift Store Lamp Makeover


Finding thrifty treasures is not as hard as many make it out to be. It's just a matter of looking at, for example, a piece of furniture, a lamp, a frame, etc... noticing its shape and details and then imagining it in another color if you are not pleased with its current finish. If the item has potential and you can see that it can easily be painted and transformed into something beautiful, then why not? Amy Howard's One Step Paint is a water-based paint that adheres to almost any surface, including wood, concrete, iron, stone, formica, even brass and so much more.

This brass lamp definitely had potential. The lions on each side are interesting details and we thought it could transform into a beautiful piece.


How-To:

1. Wipe down the lamp’s surface to clear any dust, dirt, etc. Use a degreaser (like Simple Green or Zep) and spray your piece thoroughly. Wipe it clean and allow to dry.

2. We decided to paint our lamp in two colors using Amy Howard's One Step in Barefoot In The Park and a custom blend of chocolate brown. In this case, tape off the edges of the main part of the lamp with painters tape. 


3. Start painting the lamp, letting the first coat dry for about 20 minutes. Brush on a second coat to cover all the way and let it dry again for another 20 minutes. Further details on the painting, waxing and dark waxing processes are found on our previous post, Tutorial: Stool Makeover.

4. Remove the painters tape. 

5. Now tape off the accenting areas of the lamp with painters tape, such as the base of the lamp and the  area which holds the bulb.


6. Paint with your accent color as in Step #3. Remember to paint the finial of the lamp as well.


7. After the lamp is painted well and dried, remove the painters tape. 

8. Now is the time to wax and buff the lamp to give it a smooth, shinier finish. We used Antiquax Original Wax Polish. (The details for waxing are also included in the stool tutorial.)


9. After the light waxing process, its time to use Dark Wax to highlight the details on the lamp. The lions and the ridges are the highlight of this lamp. Brush on a heavy amount of dark wax, then buff, making sure that the dark wax is left behind in the crevices of the details. 

10. And finally, take 10 steps backwards and admire your now finished lamp. "Enjoy the bragging rights!" 


Tuesday, March 17, 2015

Thursday, January 29, 2015

Pinterest project of the month workshop

Market Street Artisans News

We would like to keep you updated with our latest events and workshops.

At Market Street Artisans, we will be hosting a series of workshops called PINTEREST PROJECT OF THE MONTH. In this workshop we pick a popular pinned project on Pinterest to work on. Workshops are hosted twice a month, on Wednesdays 10am-2pm or Saturdays 10am-2pm. Call us for other arrangements and options for private parties of 4 or more people. One-on-one also available. 
 

Project of the month Workshop


This February we are transforming a wood cabinet door into a chalk board. We have two options available for the finished project. 

Option 1: Knobs on the bottom to use as a wall hanging, coat hanger.
Option 2: Door pulls on each end to use as a tray.

Workshop is 4 hours long and it will include all you need to finish this project such as the cabinet door, hardware and paints. Attendees also receive 10% off any paint purchases made the same day of the workshop. Cost of this workshop is $65.


Workshops for February will be on held on Wednesday the 18th and Wednesday the 25th, from 10am till 2pm.
Please call to reserve a spot by Saturday the 14th.

 
Email: MarketStreetArtisans@gmail.com
Phone: 336.648.8477

 
Share this email with your family and friends via networking sites or email.
Share
Tweet
+1
Forward